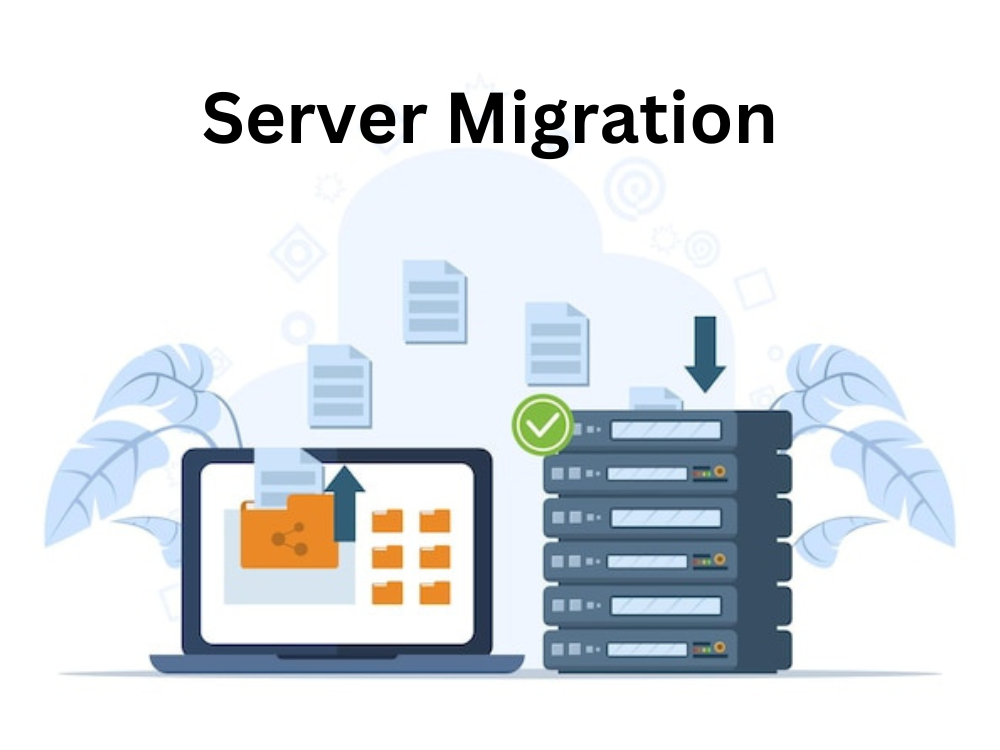
Server Migration Steps
Server Migration meaning : Server Migration is the process of moving data from one server to another server.
The takes place due to several reasons like security concerns, equipment failures, out-dated files ( such as old php version files ,Data bases ) mostly many companies prefer migration due to speed performance.

Server Migration steps :
- Prepare your new Server for migration tranfer to new server
- Access old Data
- Transfer the Data to the new server by manually or automation
- QA Testing – Test whether all the data are present or not
- Change DNS setting in Your domain Provider and make the site live.
Why Migrate Servers Needed?
They are many reasons migrate servers are needed for the business for eg:, server migration can help businesses to cut costs by moving to more energy-efficient servers
Benefits a Server Migration
Server Migration is offen recommended because it enhance website performance ,scalability and cost efficient depends upon the server or web hosting providers such as hostinger.
Server Migration is offen used to improve your site’s speed ,security ,Geographic Relocation.
How Can a Service Provider Help with Server Migration ?
Now a days all the service providers are welcoming the new clients with special server migration features.
They take care of server migration you dont need to worry about anything.
eg: Hostinger the web hosting company has dedicated team for server migration
they will migrate your website without any loss in data.
What Are Server Migration Tools?
Data migration tools are used for moving data from one storage system to another system.
They do this by a process of selecting, preparing, extracting and transforming data to
ensure the migration is done properly to the new storage location.
Server Migration Checklist:
Essential Post-Migration Tasks
Check Redirects: Regularly verify that all redirects are functioning correctly to ensure there are no broken links affecting user experience and SEO.
Monitor Rankings and Traffic: Consistently monitor search engine rankings and website traffic to detect any significant drops that could impact your site’s visibility and performance.
Fix Issues Promptly: Address any issues that arise as quickly as possible to minimize negative impacts on your site’s SEO and user experience.
Ensure Site Speed and Performance: Regularly test your site’s speed and performance to ensure it meets optimal standards, improving user experience and SEO rankings.
Update Sitemaps and Robots.txt: Make sure to update your sitemaps and robots.txt files to reflect the new server setup, aiding search engine crawlers in indexing your site correctly.
Test SSL Certificates: Verify that SSL certificates are properly installed and working to ensure secure connections and maintain user trust and search engine rankings.
Backup Regularly: Set up regular backups of your site to prevent data loss and facilitate quick recovery in case of any issues.
Check Server Logs: Review server logs regularly to identify and address any errors or issues that could impact your site’s performance and SEO.
Optimize Database: Regularly optimize your database to ensure fast query responses and overall site performance.
Update DNS Settings: Ensure that DNS settings are correctly configured to avoid downtime and accessibility issues.
By carefully planning and executing these post-migration tasks, you can minimize the negative impacts on SEO and potentially improve your site’s overall performance.
Thorough planning, testing, and implement is important .
Your IT team should create a correct server migration project plan, scheduling downtime, and establishing data backup procedures.
once the migration or transferring is complete connect your domain DNS to the new server and make the site live and also make sure all the SEO Setup is fixed.
.
